OpenShift virtualization is based on openshift kubevirt (https://github.com/kubevirt/kubevirt ).
This is to use CRC default configuration without additional storage configuration as a first step of OpenShift virtualization .
This is written with OpenShift 4.5.4 and can see the version with crc first:
$crc version

- Set up Nested virtualization before CRC configuration.
$ cat /sys/module/kvm_intel/parameters/nested
$sudo modprobe -r kvm_intel
$sudo modprobe kvm_intel nested=1
$sudo vi /etc/modprobe.d/kvm.conf
options kvm_intel nested=1
As a result, nested virtualization is show:

2. Changes in CRC configuration to use default set up physical volume.
$cd $HOME/.crc/machines/crc
$ssh -i id_rsa core@192.168.130.11

Change file authority of OpenShift storage directory to create virtual machine storage:
$sudo -i
#chmod -R 777 /mnt/pv-data

3. install Virtualization module
Go to “Operators → OperatorHub → All Items” and type in “OpenShift virtualization” in the filed.

Click “OpenShift Virtualization” icon :

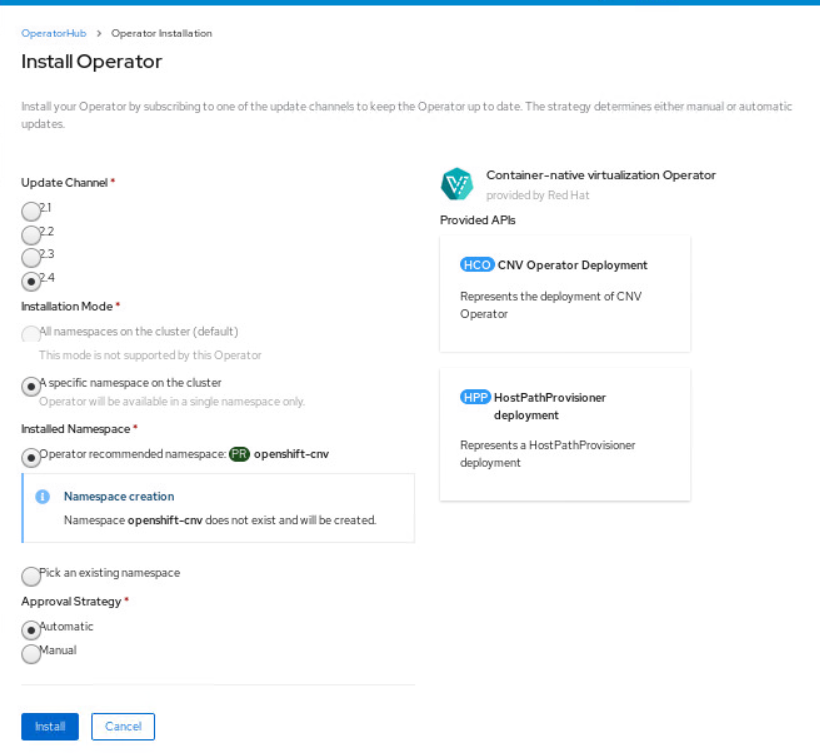
Install the module by clicking “Install” :

Click “Install” without change the value:
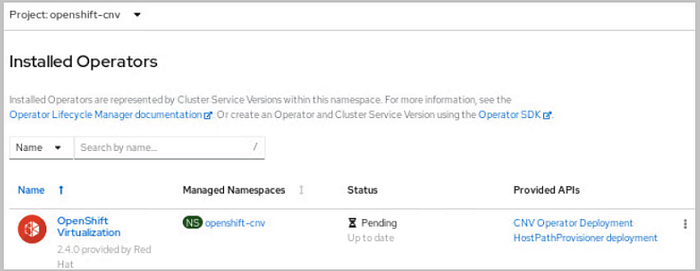
Click “OpenShift Virtualization” :
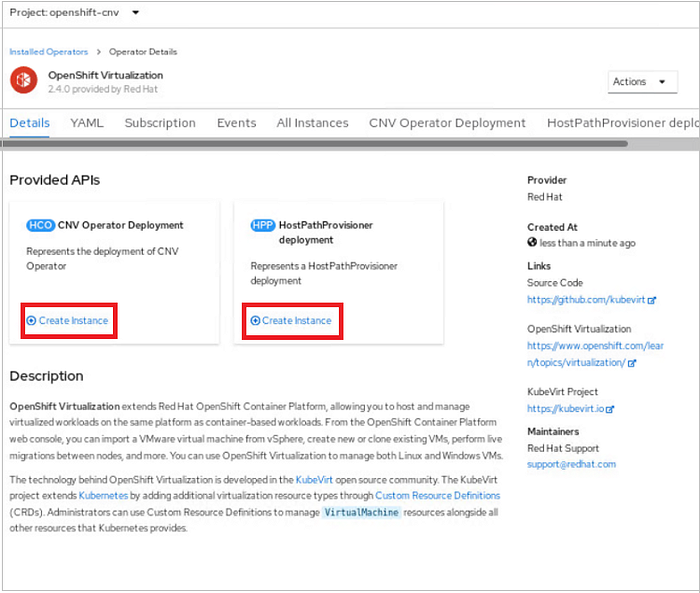
Click “Create instance “ of CNS Operator Deployment and “Create Instance” of HostPathprovisioner deployment with default value:
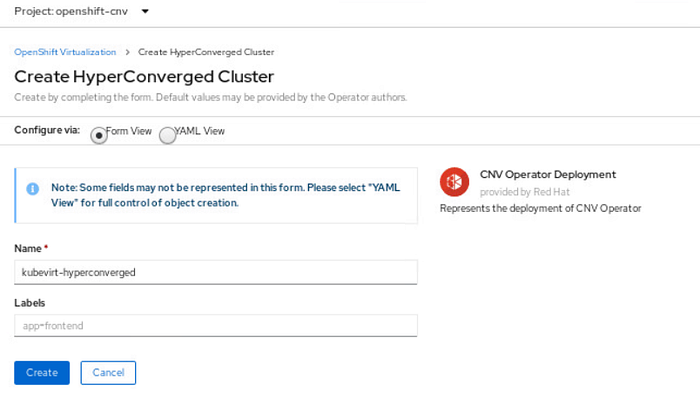
You see “Create HyperCoverged Cluster” and click “Create” with default value :
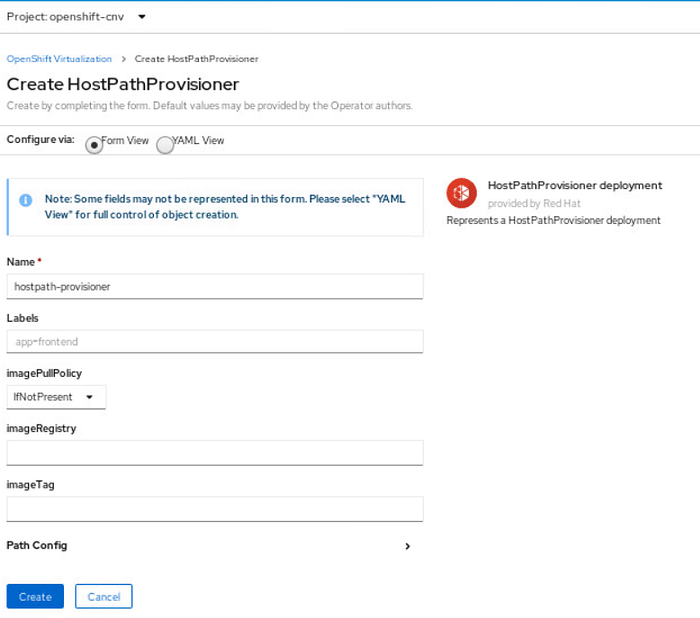
See “Create HostPathProvisioner” and click “Create” with default value:
4. Create virtual VM :
To download fedora : https://download.fedoraproject.org/pub/fedora/linux/releases/32/Cloud/x86_64/images/Fedora-Cloud-Base-32-1.6.x86_64.qcow2
you can use Fedora-Cloud-Base-32–1.6.x86_64.qcow2 or change file name as iso. It doe not matter.
I moved the file to http direcotry to import quickly.
url: http://10.93.99.141/Fedora-Cloud-Base-32–1.6.x86_64.qcow2:
( screent image is different name)

Click “Next” :

Click “Next “ in Storage:

Add the following cloud-init content by change “Custom script” and click “Next”:
#cloud-config
password: p@ssw0rd
ssh_pwauth: True
chpasswd:
expire: false
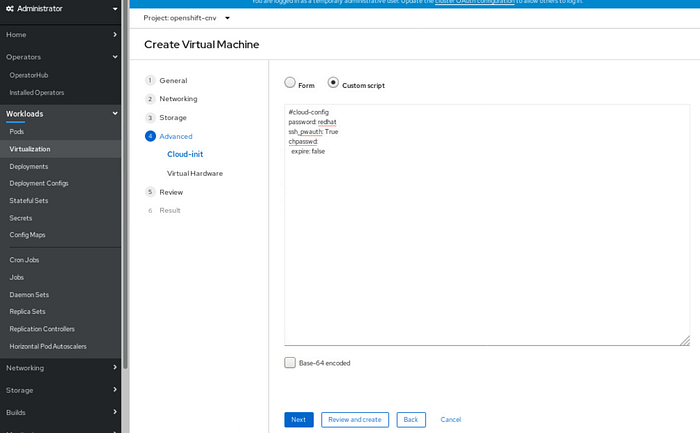
Click “Next” :
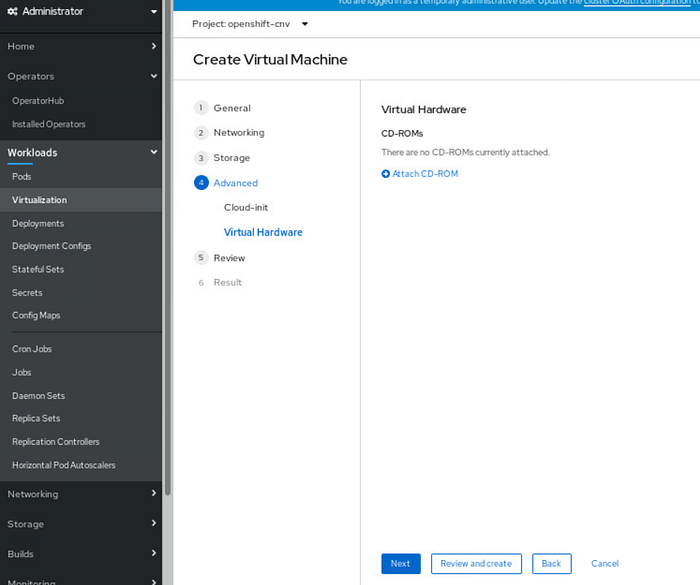
Click the “Next” and “review and create”
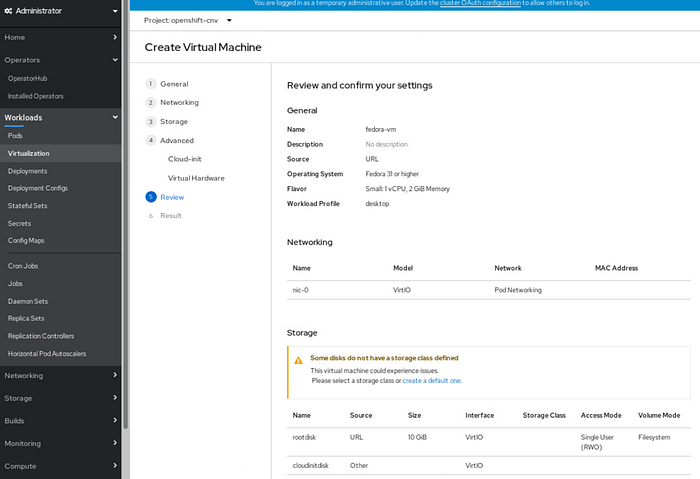
wait the VM and wait until the status is ready.
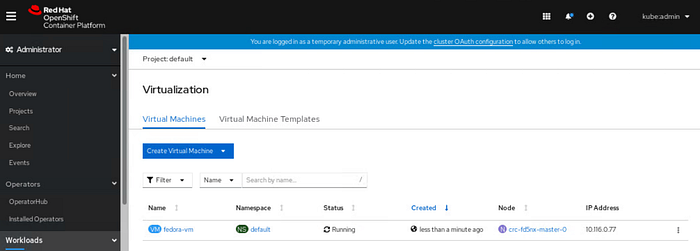
go to “Workloads → Virtualization →name → console” and try to log-in with username as “fedora” and password as “redhat” :

5. access virtual machine with virtvtl
$cd $HOME/download
$wget -O virtctl https://github.com/kubevirt/kubevirt/releases/download/v0.30.6/virtctl-v0.30.6-linux-x86_64
$export PATH=$HOME/download:$PATH
$chmod a+x virtctl
$oc get vm

access vm with “fedora-vm” and use username as fedora and password as
$virtctl console fedora-vm

References:
